The Ultimate Guide to Gravel and Concrete
Pouring concrete for a DIY patio can be a rewarding project that adds value and functionality to your outdoor space. While it requires careful planning and execution, with the right tools and techniques, you can achieve professional results. Here’s a step-by-step guide on how to pour concrete for a DIY patio:
1. Plan and Prepare
- Design: Determine the size, shape, and layout of your patio. Consider factors such as sun exposure, drainage, and accessibility.
- Permits: Check local building codes and obtain any necessary permits before starting your project.
- Materials: Gather the materials and tools you’ll need, including concrete mix, gravel or crushed stone (for the base), wooden stakes, string, rebar or wire mesh (for reinforcement), concrete forms or molds, a wheelbarrow, shovel, rake, trowel, level, and concrete mixer (optional).
2. Site Preparation
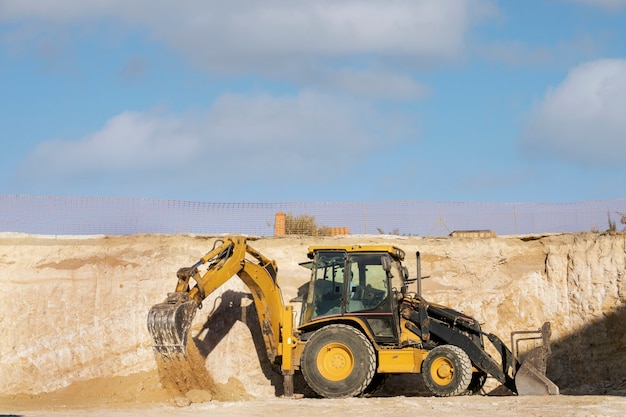
- Excavation: Clear and level the area where the patio will be located. Excavate the soil to a depth of at least 4 to 6 inches to accommodate the gravel base and concrete thickness.
- Base Preparation: Install a base layer of compacted gravel or crushed stone to provide stability and drainage. Aim for a depth of 2 to 4 inches and use a hand tamper or mechanical compactor to achieve a firm, level surface.
3. Formwork Installation
- Layout: Use wooden stakes and string to outline the perimeter of the patio, ensuring it is square and level. Add additional stakes and string lines as needed to define the edges and corners.
- Forms: Install rigid forms or molds along the perimeter of the patio to contain the concrete. Make sure the forms are securely anchored and braced to prevent shifting during pouring.
4. Reinforcement Placement
- Rebar or Wire Mesh: If desired, place steel rebar or wire mesh within the forms to reinforce the concrete and prevent cracking. Space the reinforcement evenly throughout the patio area, keeping it elevated within the concrete slab.
5. Mixing and Pouring Concrete
- Mixing: Follow the manufacturer’s instructions to mix the concrete thoroughly in a wheelbarrow, concrete mixer, or mixing tray. Use the appropriate water-to-concrete ratio to achieve the desired consistency.
- Pouring: Start pouring the concrete into the forms, working from one end of the patio to the other. Fill the forms evenly to the desired thickness, typically 3 to 4 inches for a patio slab. Use a shovel, rake, or concrete chute to distribute the concrete smoothly.
6. Finishing and Leveling
- Leveling: Use a screed board or straight 2×4 to level the surface of the concrete, moving it back and forth in a sawing motion across the forms. Fill any low spots with additional concrete and screed again until the surface is uniformly level.
- Smoothing: Use a bull float or magnesium float to smooth the surface of the concrete, working in large, overlapping strokes. Avoid overworking the concrete to prevent surface imperfections.
7. Edging and Control Joints
- Edging: Use an edging tool to create clean, defined edges along the perimeter of the patio. This helps prevent chipping and promotes drainage.
- Control Joints: While the concrete is still wet, use a grooving tool to create control joints or expansion joints at regular intervals throughout the patio. These joints help control cracking by providing relief points for shrinkage and expansion.
8. Curing and Protection
- Curing: Cover the freshly poured concrete with plastic sheeting or wet burlap to retain moisture and promote proper curing. Allow the concrete to cure for at least 48 to 72 hours before removing the forms or applying any weight.
- Protection: Protect the newly poured concrete from foot traffic, rain, and extreme temperatures during the curing process. Consider using concrete curing compounds or sealers to enhance durability and longevity.
9. Finishing Touches
- Cleanup: Remove any excess concrete or debris from the patio surface and surrounding areas. Clean tools and equipment promptly to prevent concrete buildup.
- Sealing (Optional): Once the concrete has fully cured, consider applying a concrete sealer to protect the surface from stains, moisture, and UV damage. Follow the manufacturer’s instructions for application and reapplication as needed.
10. Enjoy Your New Patio
Once the concrete has cured and any finishing touches are complete, your DIY patio is ready to enjoy! Add outdoor furniture, potted plants, and decorative accents to create a welcoming and inviting outdoor space for relaxation and entertainment.
By following these steps and paying attention to detail, you can successfully pour concrete for a DIY patio and create a beautiful, functional, and long-lasting outdoor living area. Remember to work safely, take your time, and seek assistance if needed, especially when handling heavy materials or operating power tools. With careful planning and execution, you’ll be able to enjoy your new patio for years to come.